Table of Contents
How to Install PuTTy on Window
In this article, we will see a detailed step to install putty on windows 10 or lower versions. The installation of the putty is easy and straight. Just follow the screenshots and you can install putty easily.
What is PuTTy?
Putty is a tool that is used for log in to remort servers from command line interface (CLI). It gives you many other features like sftp and tunneling. We normally use putty to log in could Linux boxes. Putty is light and rich-featured tool that can also save store remote connections details. I am using putty form my windows laptop for a long time and it never disappoints me.
How to Install PuTTy on Windows
#1. Download the putty from the official website.
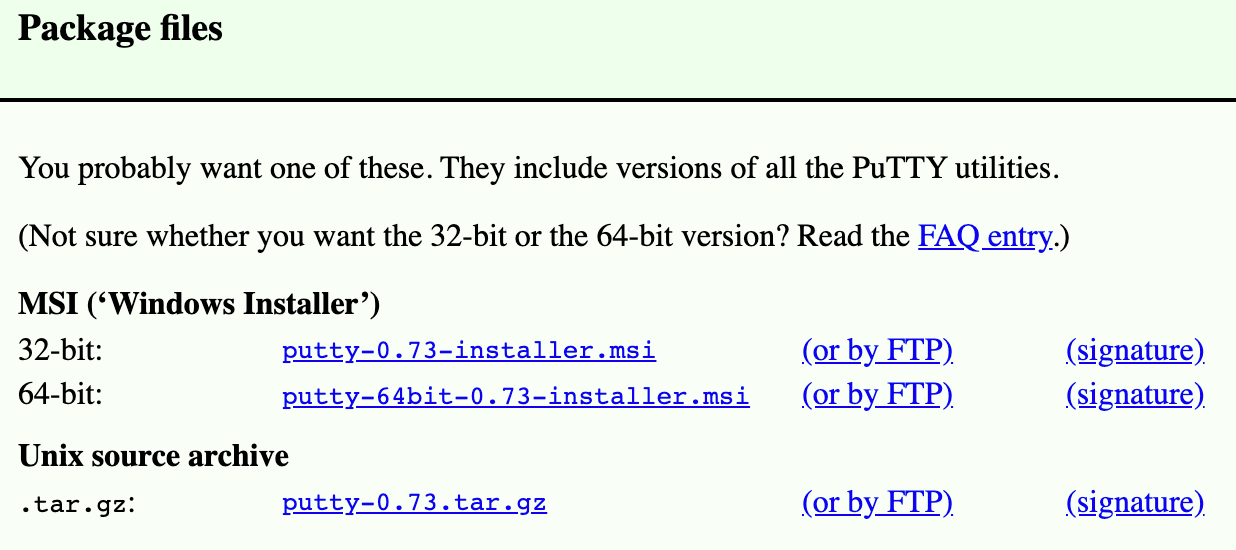
#2. Once the file is downloaded on your laptop or desktop. Just double click on exe file.
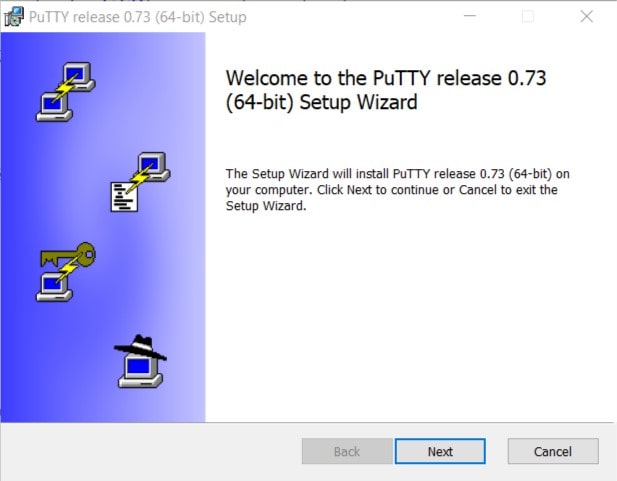
#3. Click next
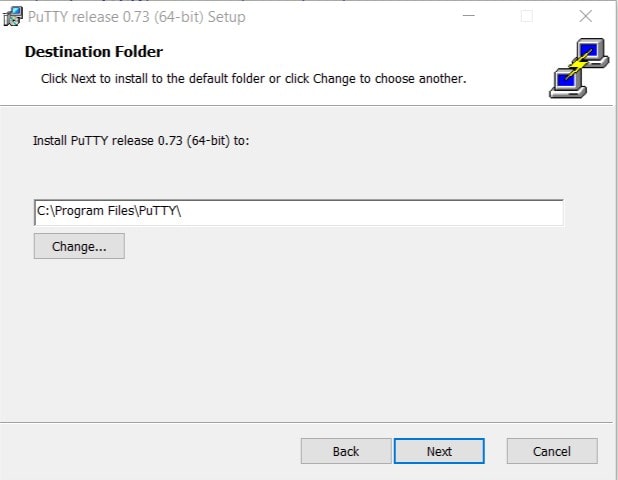
#4. Select the folder where you want to install it and next. I never change just go with default.
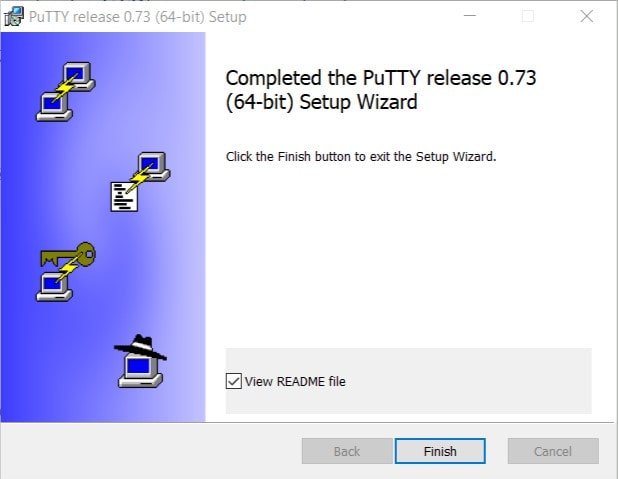
#5. You are done just click ‘Finish’
Run PuTTy and log in to the Remote Server
#1. Open putty by searching it in the windows search option. You will see puTTy and PuTTYgen.

#2. Open putty and try to login to the remote server.
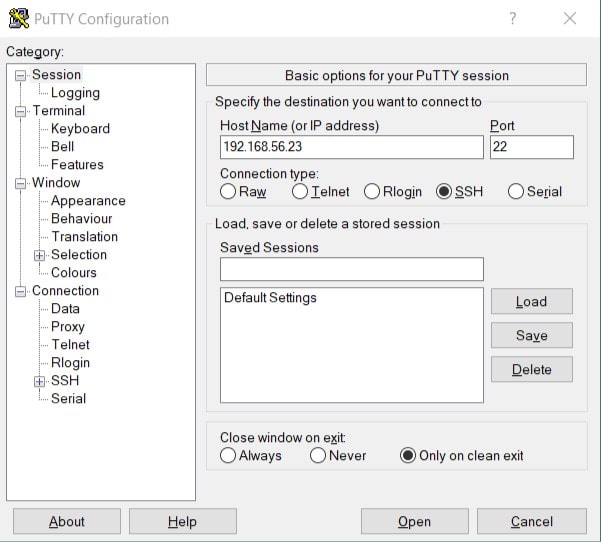
#3. Give a valid username and password. And you are done.
[su_box title=”Common Remote Server Login Issues and Fix ” box_color=”#0174be” title_color=”#101112″]
- The remote server firewall is blocking your login connection. Disable the firewall or add a firewall rule.
- If its AWS server check your PPK key you might be using the wrong key or key file is corrupted.
- Remote server sshd services are not running. You can try starting it by command ‘systemctl start sshd'[/su_box]
Read more
AWS MySQL RDS Database Creation using AWS CLI
How to Create MySQL Database with AWS RDS
How to connect to AWS MySQL / MariaDB RDS or EC2 database from MySQL WorkBench
How to Become Oracle apps DBA?
What does DBA mean?
150 Oracle DBA Interview Questions
Top 5 Future Technologies for Database Administrators (DBA) to learn in 2020
Top 5 Software Technology Trends in 2020 List


