Table of Contents
How to create Linux/RHEL8 machine on AWS (Amazon Web Services) using EC2 service
Day by day IT infrastructures is moving to cloud including compute servers, databases, network or storage. In some cases, you may see that whole infrastructure itself has provisioned on cloud or combination of in house and cloud which you can say ‘Hybrid cloud‘. It is becoming mandatory for IT professionals to obtain operational knowledge about cloud and its service providers like Amazon AWS, GCP (google cloud), Microsoft Azure, Alibaba Cloud or Oracle Cloud.
In this blog post, I am going to explain how you can create a AWS EC2 machine with Red-hat Enterprise Linux 8 using some simple steps.
Prerequisites: You should be having an active AWS account
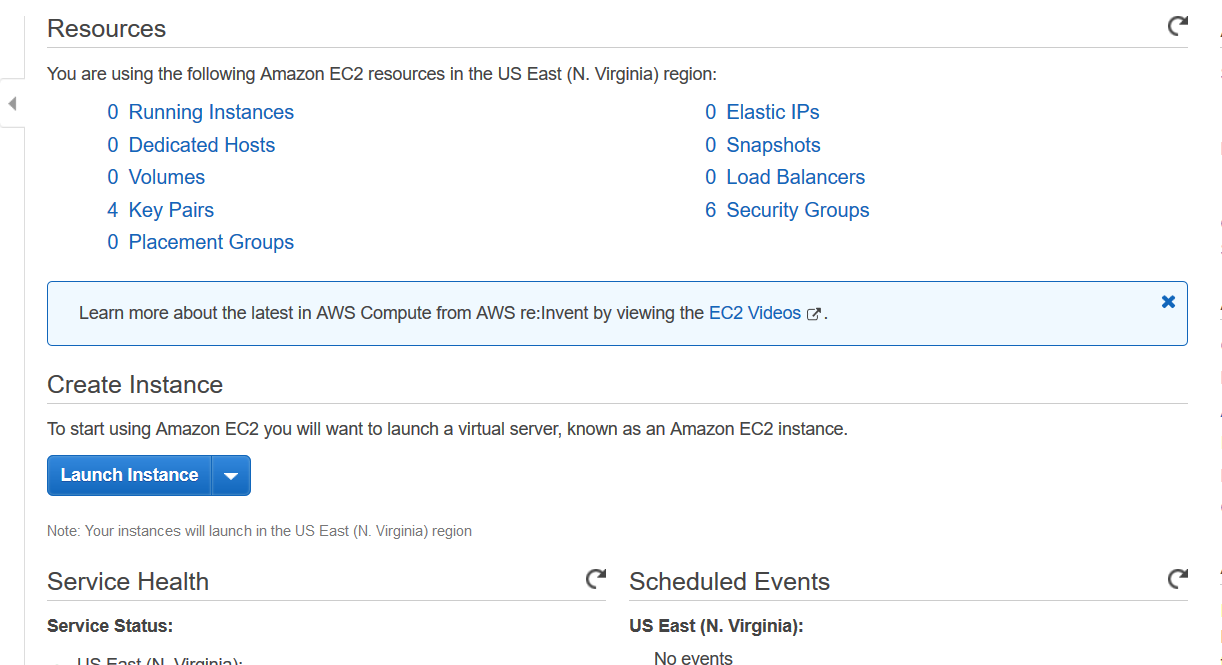
1. Login to AWS console/account and search for EC2 service

2. Create a EC2 instance with Red-hat Linux 8 (64 bit)
‘click on launch the instance‘
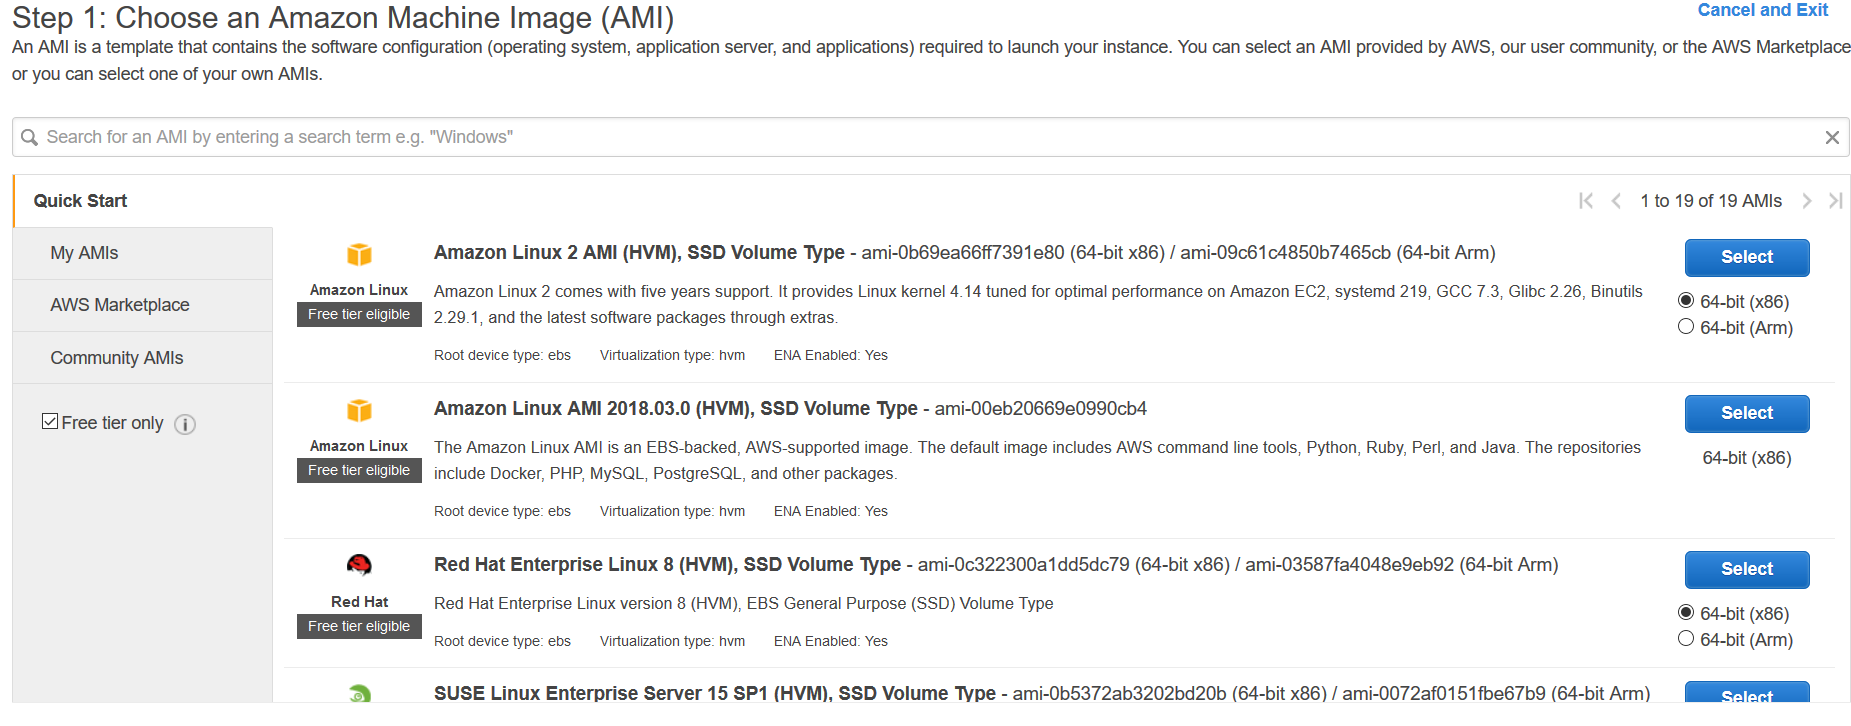
3. Select the Amazon Machine Image (AMI) for RHEL 8
‘Click on Option red-hat
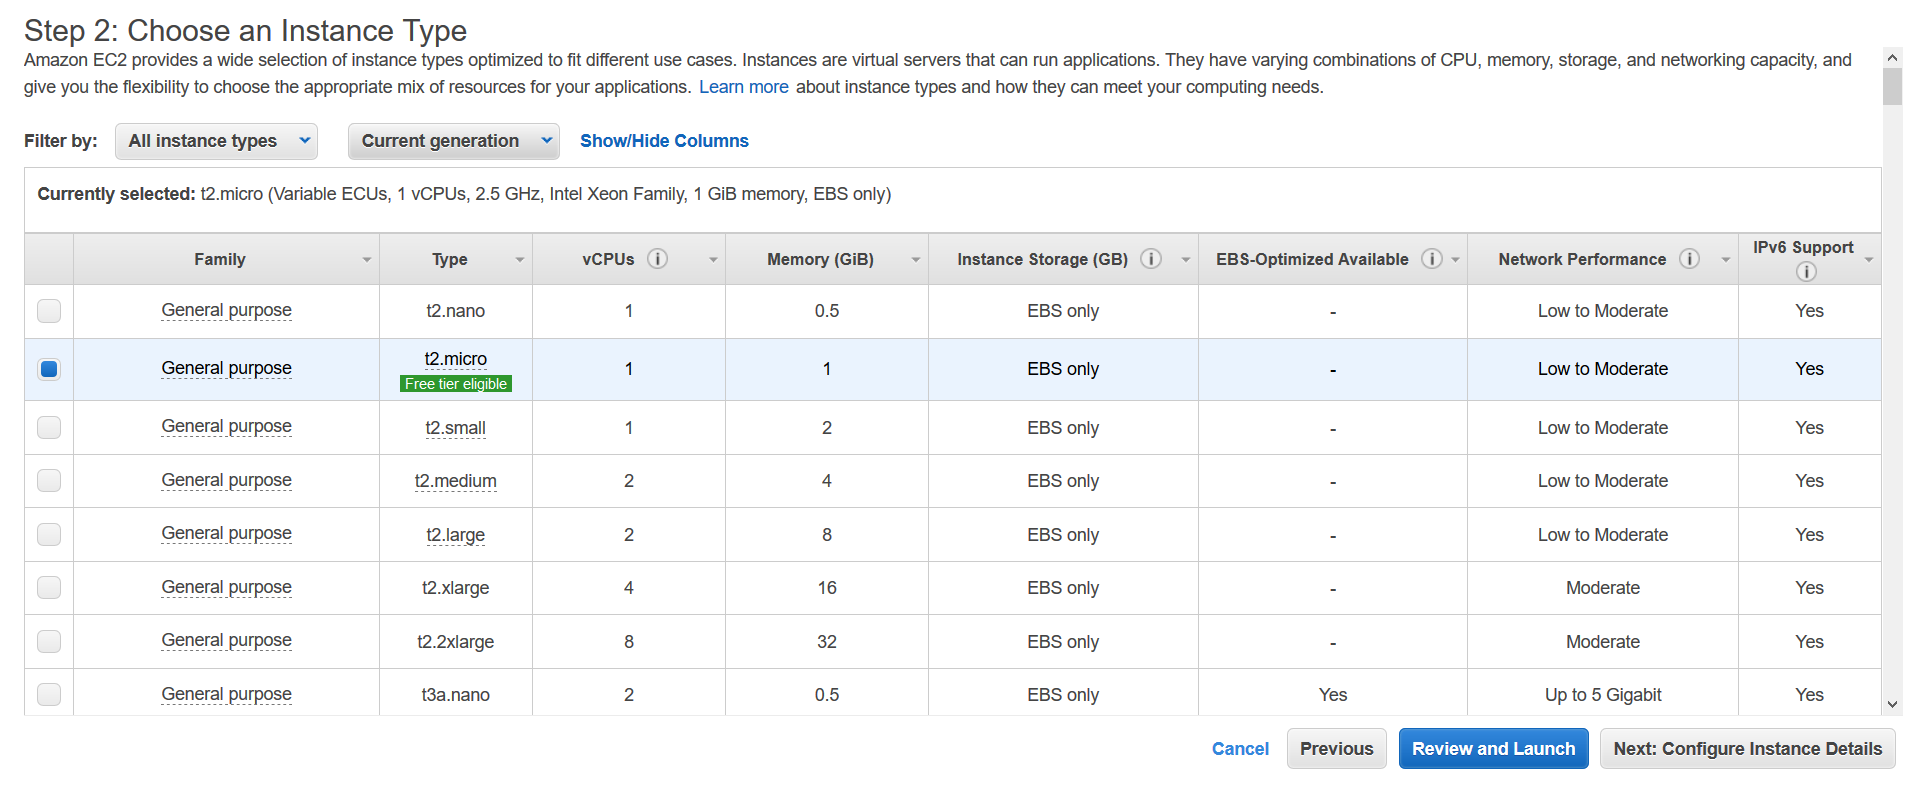
4. Chose the instance type
Make sure you take the free one only which is t2.micro
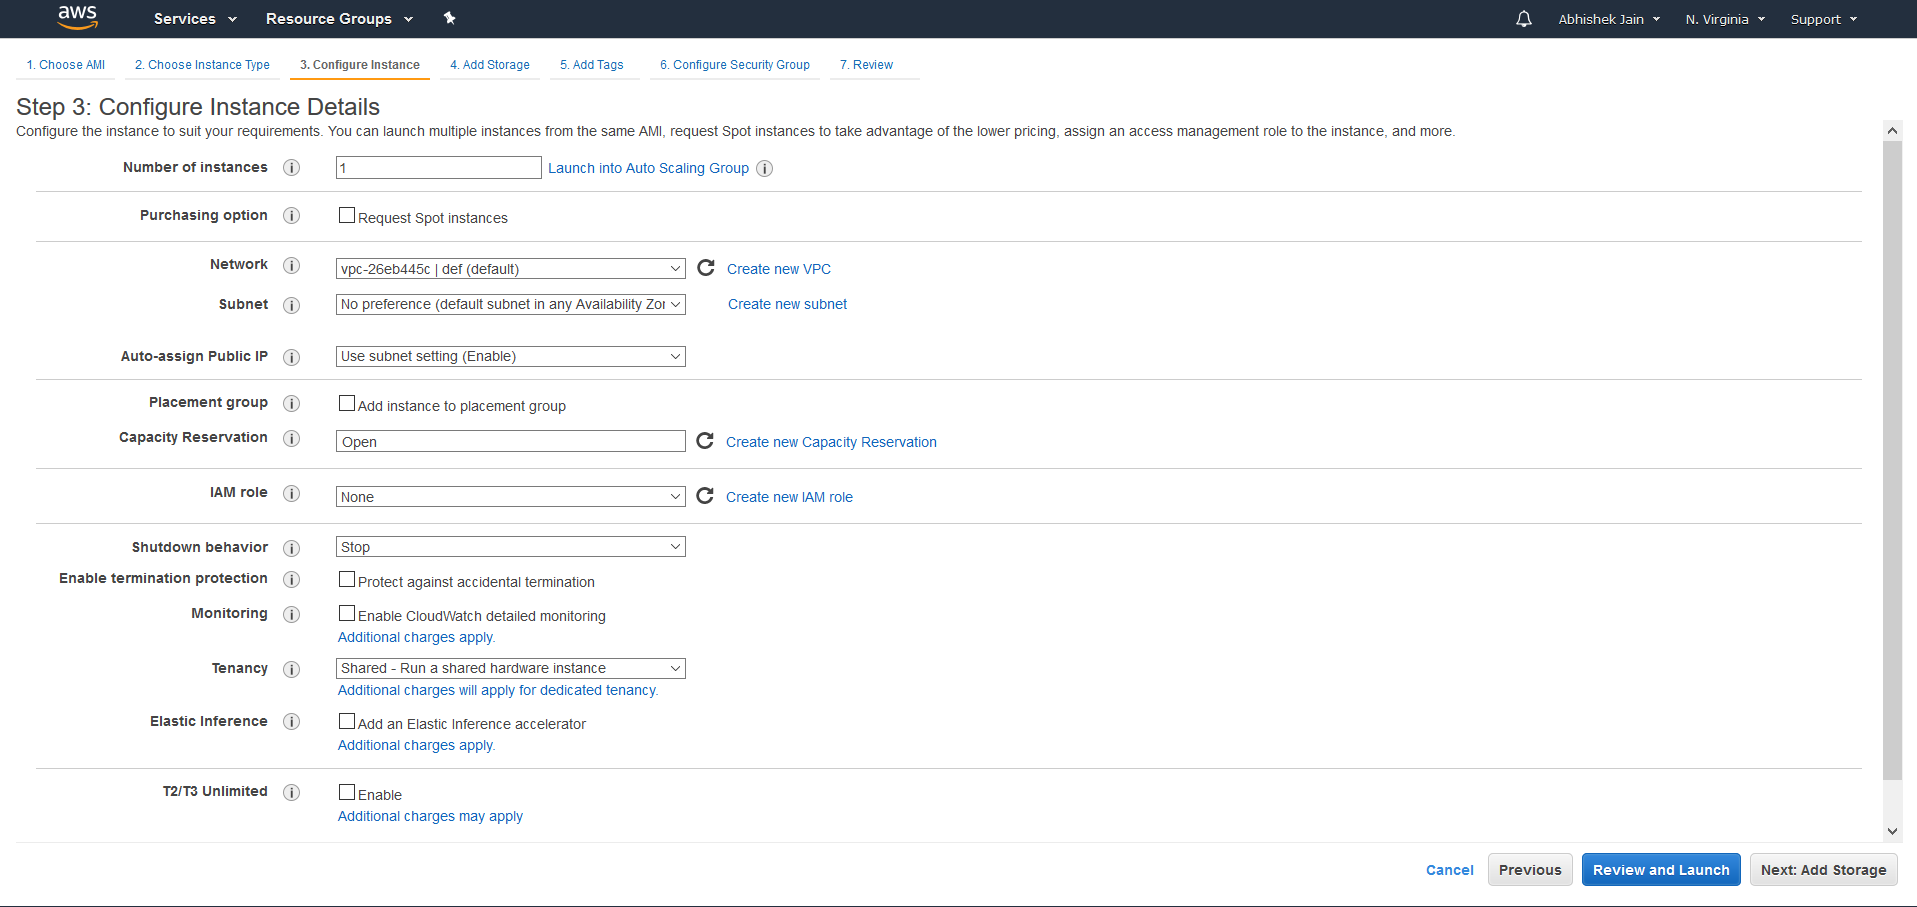
5. Select the configuration as your need or just go with default
‘Make sure you have not changed any thing on Auto-Assign public IP’
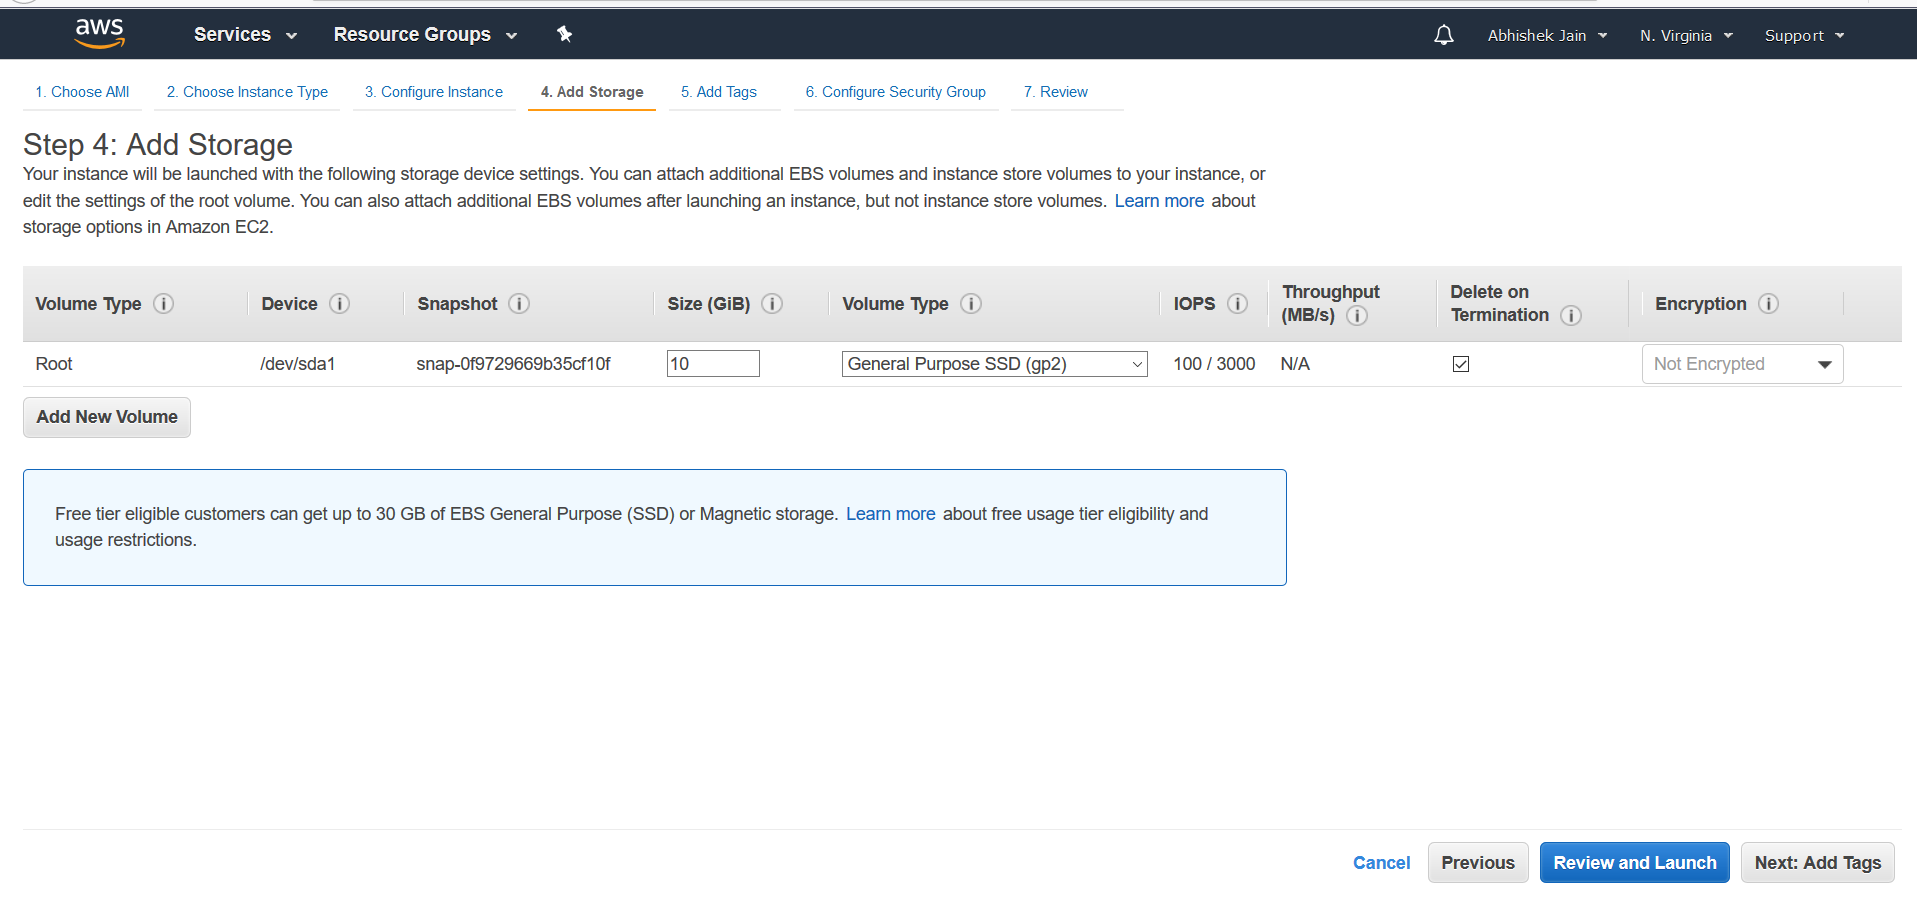
6. Add storage to you EC2 RHEL 8 EC2 machine
Don’t change anything until you have any specific storage need because more space will cost you more money
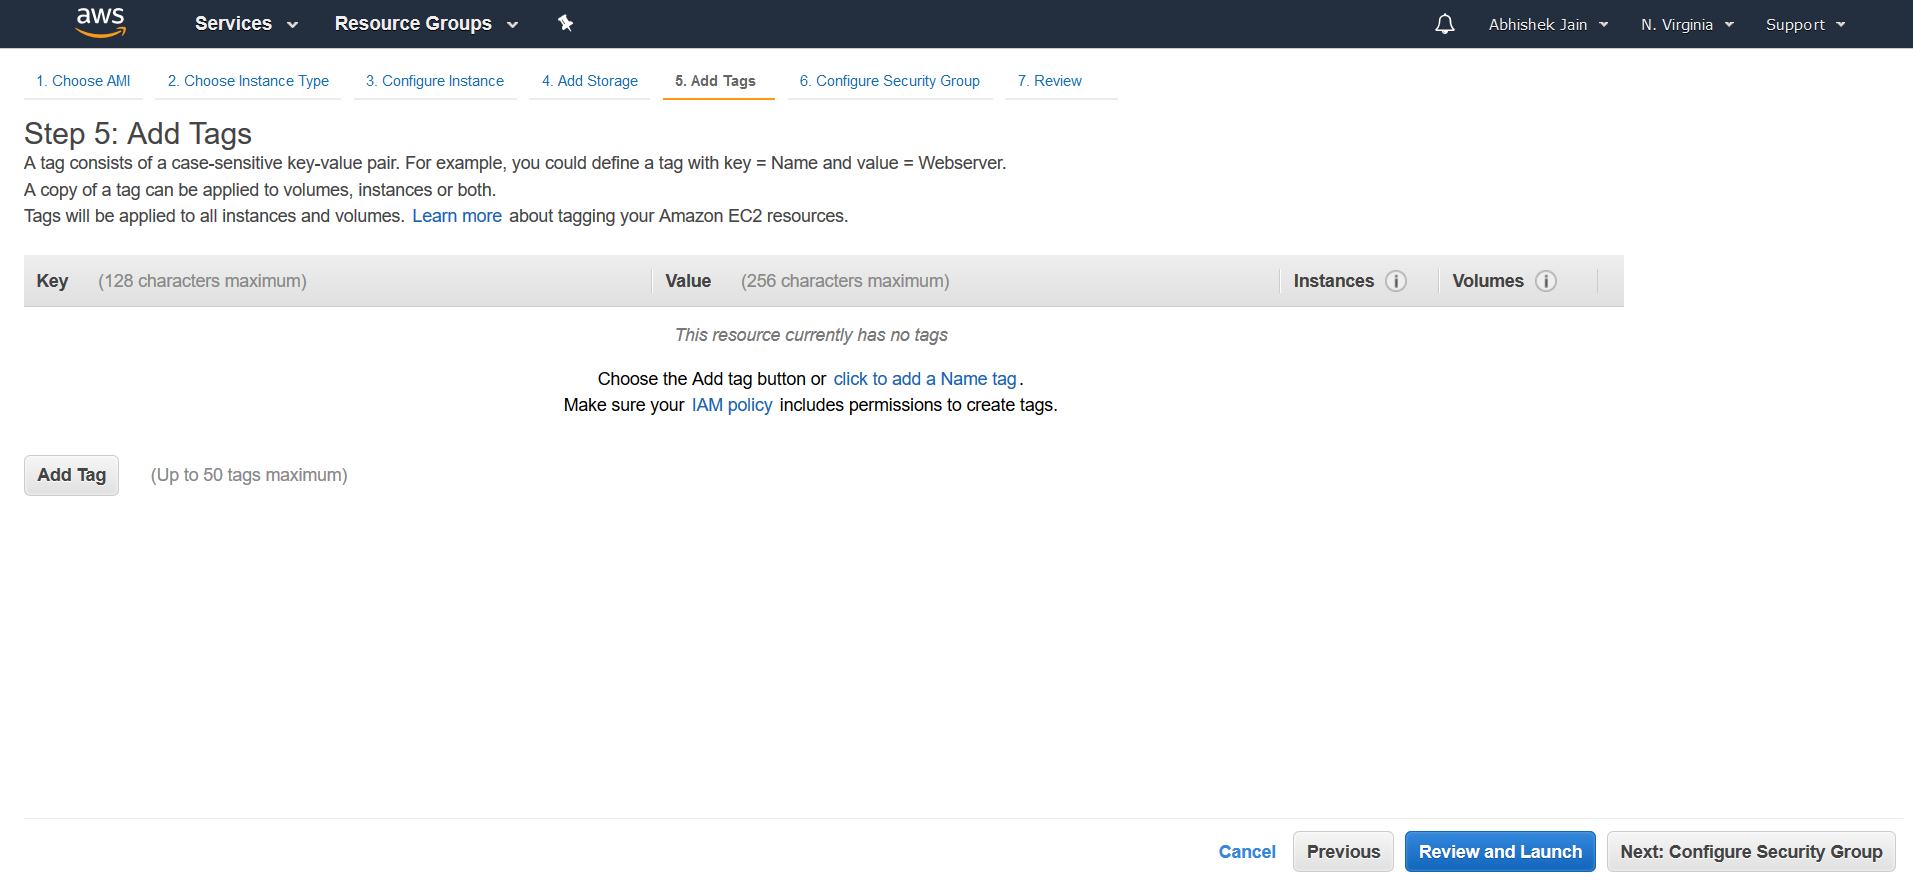
7. Add some tag if you have
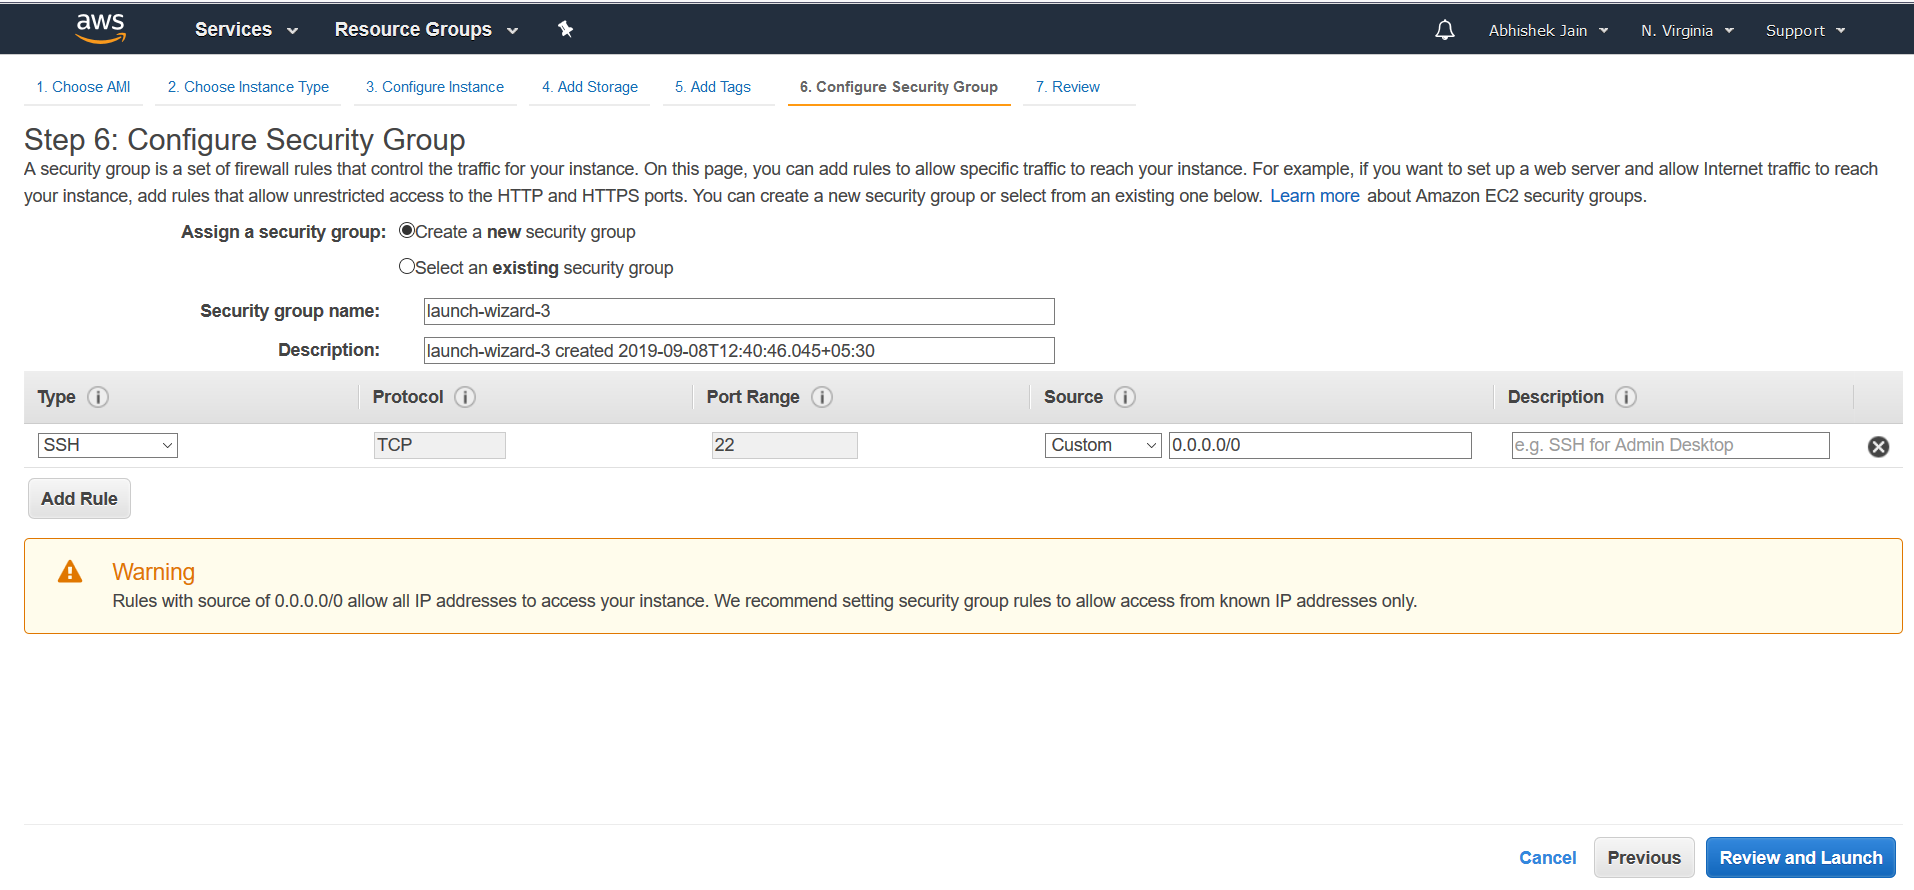
8. Create a Security Group for EC2 machine
Don’t change anything let it be the default
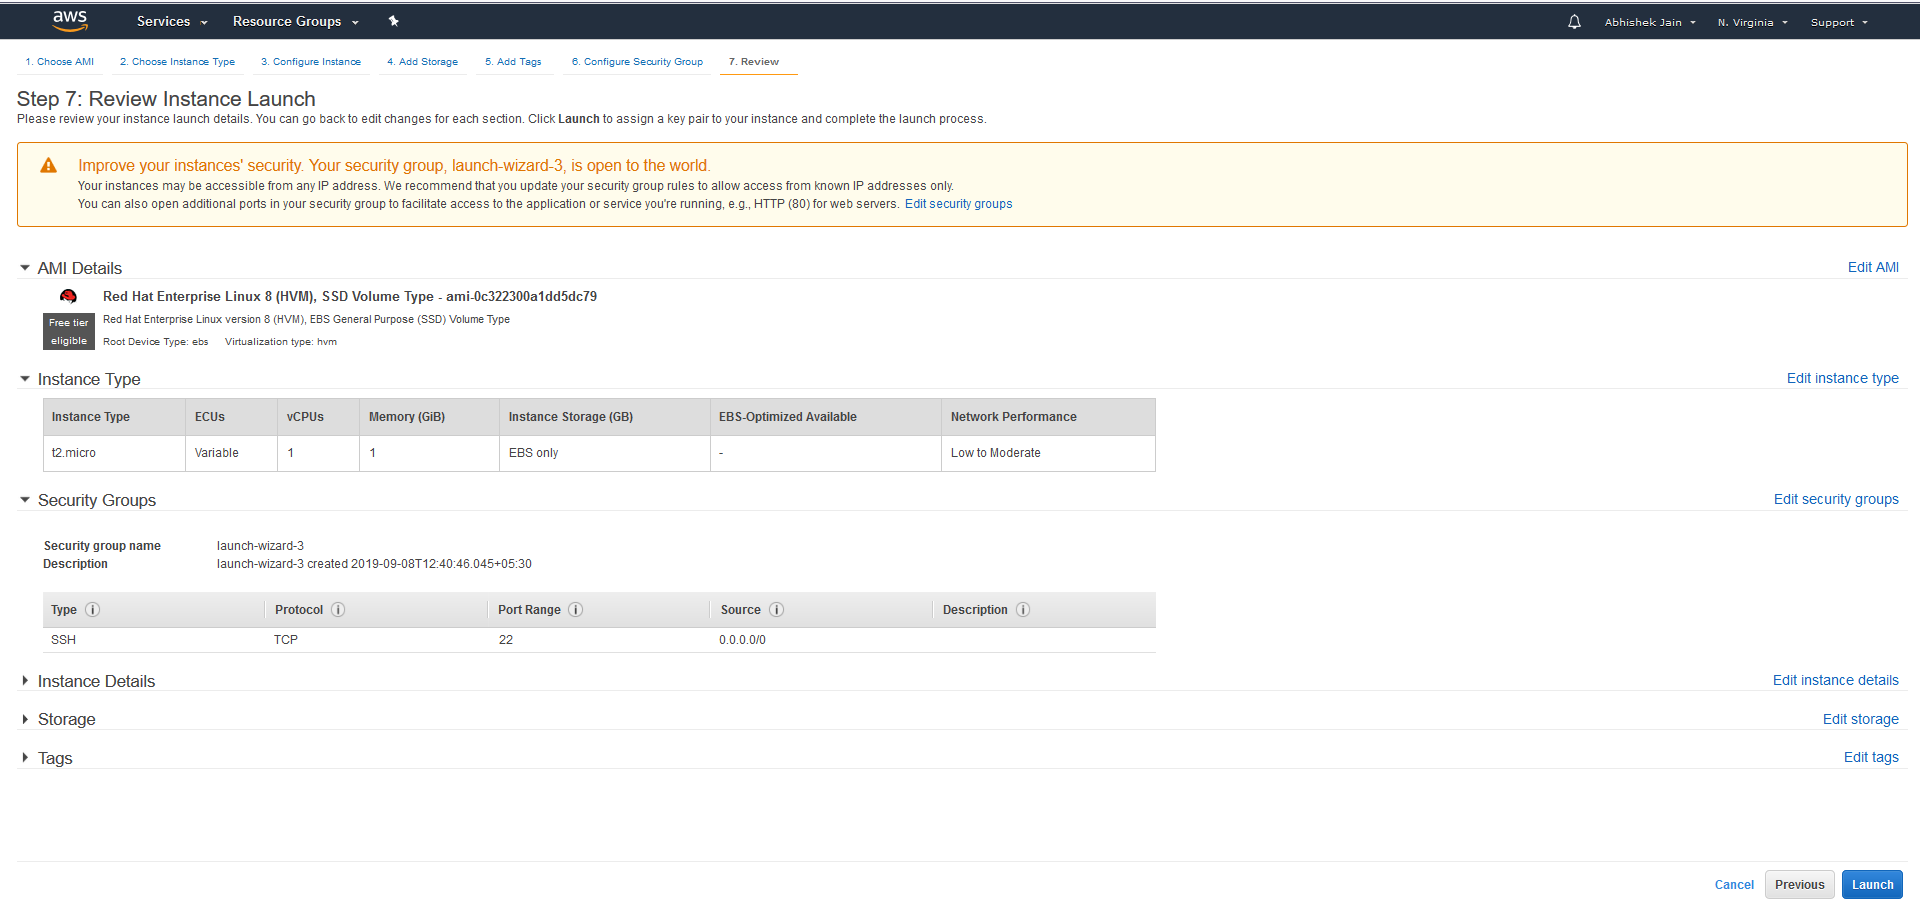
9. Review all the configuration before launching it
Just click on Launch
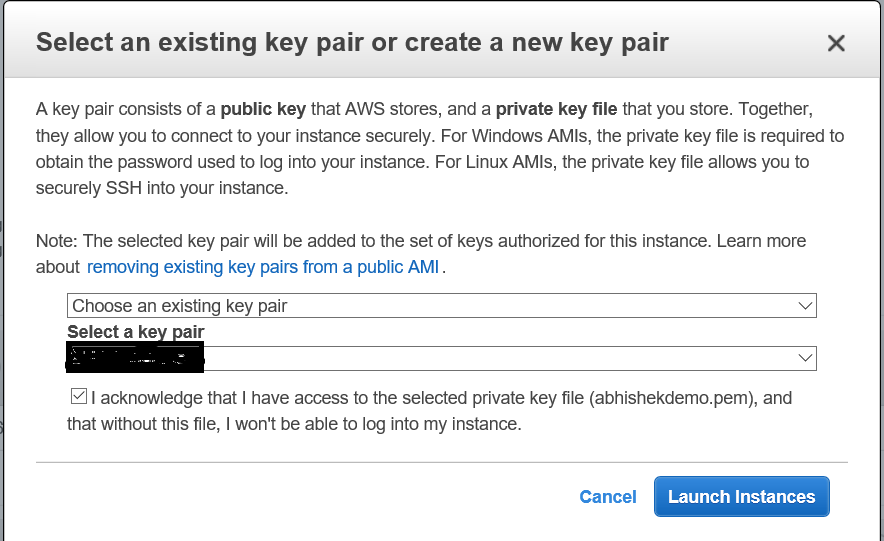
Right after launch, it will prompt you to create pem key or use any old pem key like the following snapshot. I have used my old key. In your case, you can also get the option to create a new key. If you create a new key save the private key file carefully.
10. In a few seconds you will see the EC2 machine status initializing to running


Once it’s in running state you are ready to login
[su_note note_color=”#66ff7c”] If you want to access your EC2 RHEL 8 machine from windows follow below steps [/su_note]
11. Download the putty installer from www.putty.org.
[su_note note_color=”#66ff7c”] Make sure you download “MSI (‘Windows Installer’)” so that we get puTTygen by default [/su_note]
12. And now convert the Pem to ppk ( putty private key ) format using below steps using the link
https://docs.aws.amazon.com/AWSEC2/latest/UserGuide/putty.html
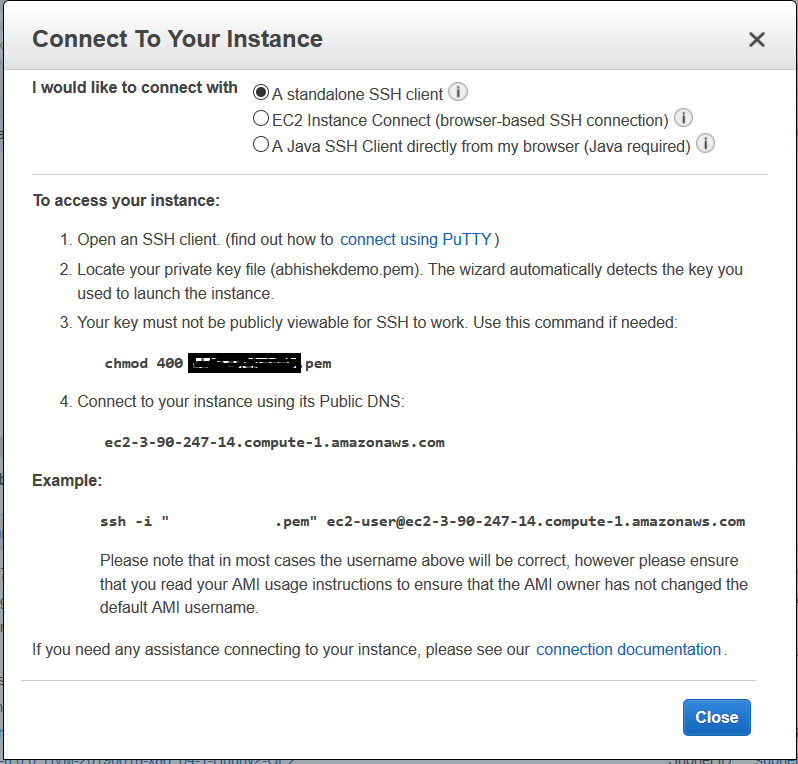
13. Get the EC2 machine hostname from ‘connect’ section
it will look like the following snapshot. Take the hostname from ‘Public DNS’ section
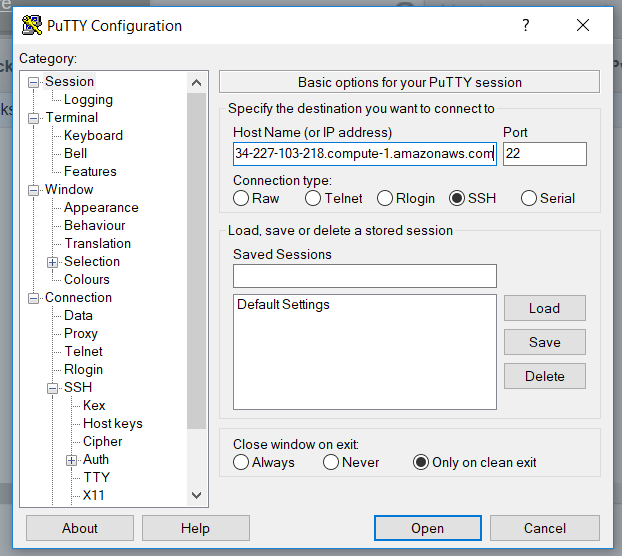
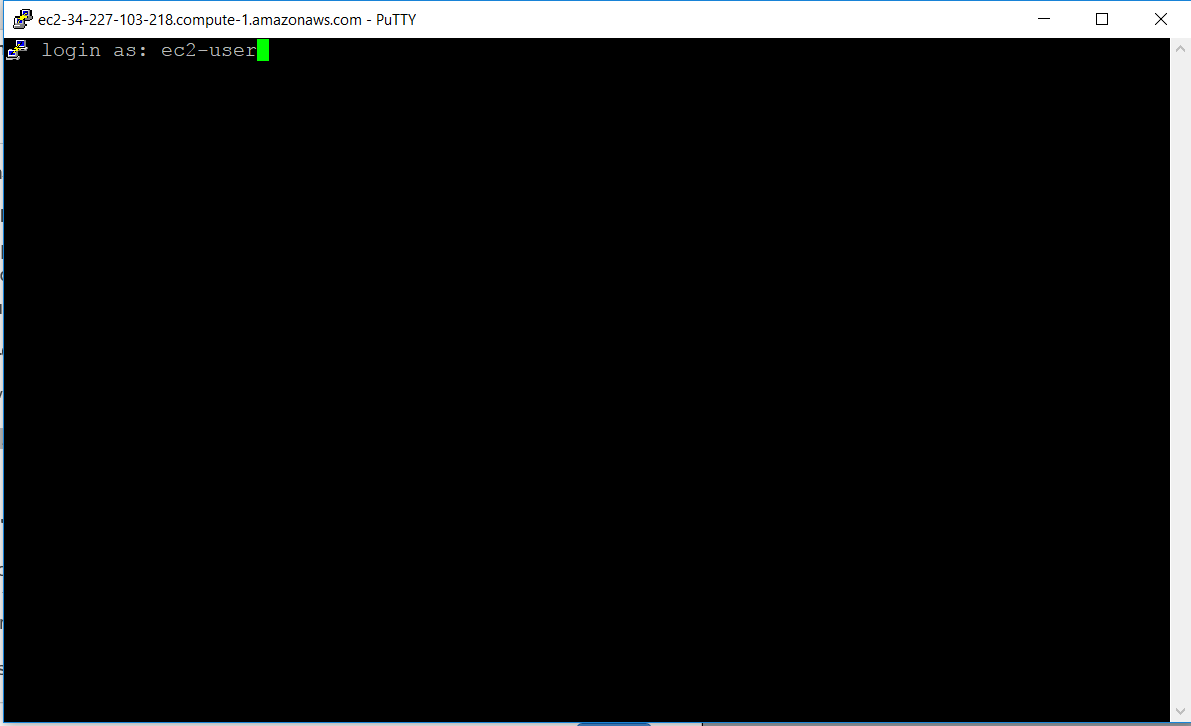
14. Once you have PPK file load that to your putty ‘auth’ section and try login to your AWS EC2 RHEL8 machine.
[su_note note_color=”#66ff7c”]Browse and select the same file which you got form puTTYgen utility after converting from pem to ppk[/su_note]

Get the server name from number step 13
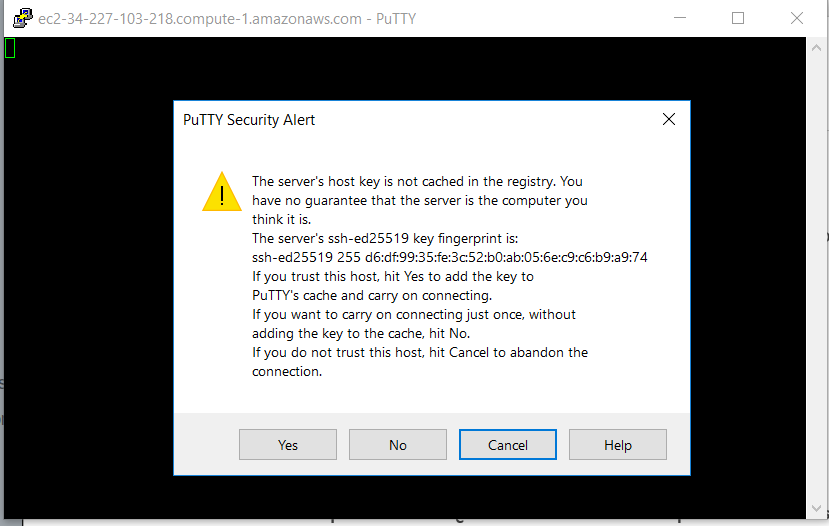
15. You will be now able to ssh your EC2 RHEL8 machine from your local laptop or desktop
Click on ‘Yes’
16. Now you can login to your First AWS EC2 cloud Machine

Enjoy !!! Happy cloud computing ahead
AWS documents for more detail : https://docs.aws.amazon.com/efs/latest/ug/gs-step-one-create-ec2-resources.html
